Customize Identity Schema
Ory supports custom Identity Schemas. To learn more about the concept of Identity Models at Ory, please head over to Identity Schema, Custom Fields. The Identity Model is a JSON Schema which describes the traits that make up an identity, for example customers, users or staff accounts.
This guide describes the steps needed to create custom Identity Schemas.
Setup Custom Identity Schema
Select the Ory Cloud Project, you want to change under Projects/Overview.
Head over to the "Customize / General" tab (URL: https://console.ory.sh/projects/$YOURPROJECTID/settings) and review the currently active Identity Schema.
Select a preset model or an empty template as the basis for your new custom Identity Schema.
Check the
Customize Identity Schemabox to enable editing on the Identity Model.Add or remove traits from the Identity Schema as desired, more info in the Customize Fields section.
When finished editing name your custom Identity Schema. Input the name in the textbox between the checkbox and the schema.
Press
Enteror hit theUpdatebutton to save it, once you have made your changes. Currently, it is not possible to edit an existing Identity Schema on the same revision. The Identity Schema can still be reused as a template for a following revision.
You can specify a title for your custom Identity Schema. The default is
"title": "Person", but this can be changed to something that describes this
Identity Schema more accurately, e.g.:
"title": "Customer",
"title": "Administrator",
"title": "Foo",
etc...
Customize Fields
An Identity Schemas traits are specified under
"traits": {
  "type": "object",
    "properties": {
Each trait translates into a field on the user-facing frontend. For example the "email & password" preset defines two traits - email and password:
    "traits": {
      "type": "object",
      "properties": {
        "email": {
          "type": "string",
          "format": "email",
          "title": "E-Mail",
          "ory.sh/kratos": {
            "credentials": {
              "password": {
                "identifier": true
              }
            },
            "recovery": {
              "via": "email"
            },
            "verification": {
              "via": "email"
            }
          }
        }
      },
      "required": [
        "email"
      ],
      "additionalProperties": false
    }
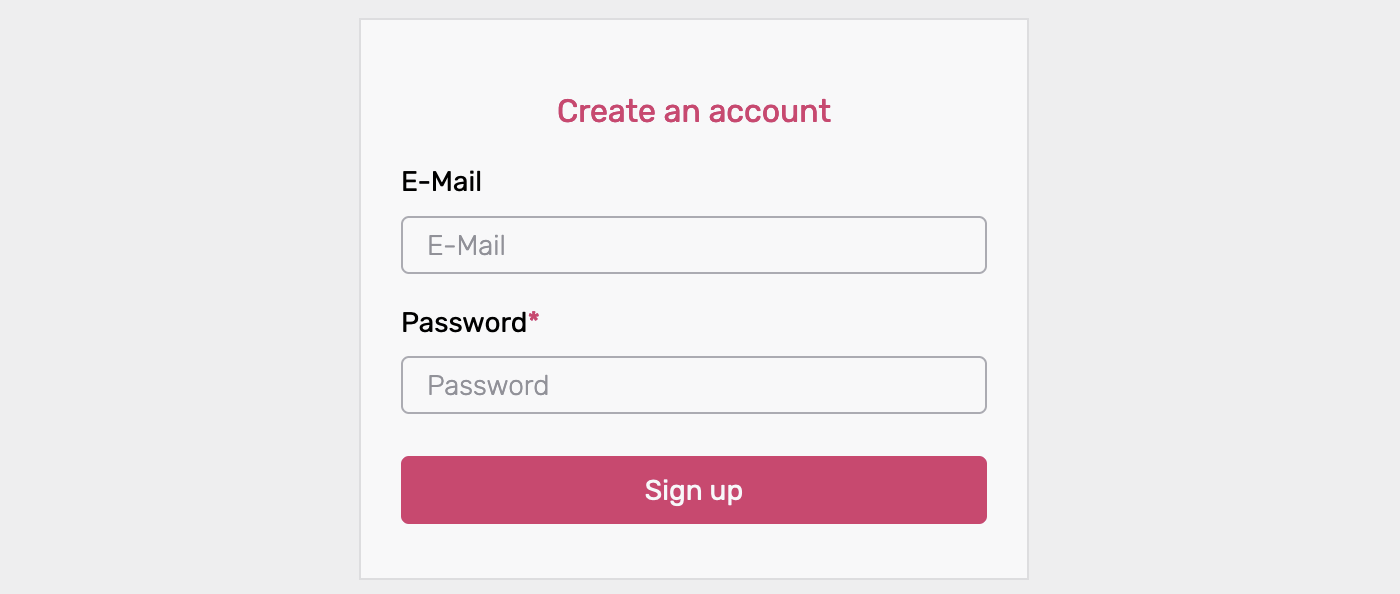
This Identity Schema translates into the following sign-up screen:

The part highlighted below defines the identities email for the email+password
flow in the Ory Cloud. It also includes a method for
recovery
as well as
verification.
Currently, only the email method is available (recovery/verification via a
link sent in an email).
    "traits": {
      "type": "object",
      "properties": {
+       "email": {
+         "type": "string",
+         "format": "email",
+         "title": "E-Mail",
+         "ory.sh/kratos": {
+           "credentials": {
+             "password": {
+               "identifier": true
+             }
+           },
            "recovery": {
              "via": "email"
            },
            "verification": {
              "via": "email"
            }
          }
        }
      },
      "required": [
        "username"
      ],
      "additionalProperties": false
    }
To add traits to the Identity Schema, add them inside the traits "properties"
"traits": {
  "type": "object",
    "properties": {
+      "customtrait": {
+        "type": "string",
+        "title": "Your Custom Trait Title"
+        }
       }
    }
for example the GitHub Handle as string :
"traits": {
  "type": "object",
    "properties": {
      "handle": {
        "type": "string",
        "title": "Your GitHub Handle"
        }
      }
    }
or a checkbox as boolean:
"traits": {
  "type": "object",
    "properties": {
      "newsletter": {
        "type": "boolean",
        "title": "Newsletter subscription"
        }
      }
    }
Possible values for the type are string, number, integer, boolean.
Use string for text fields, boolean for checkboxes fields, integer or
number for integral or floating-point numbers. If you want to know more about
these types, please refer to the
json-schema documentation.
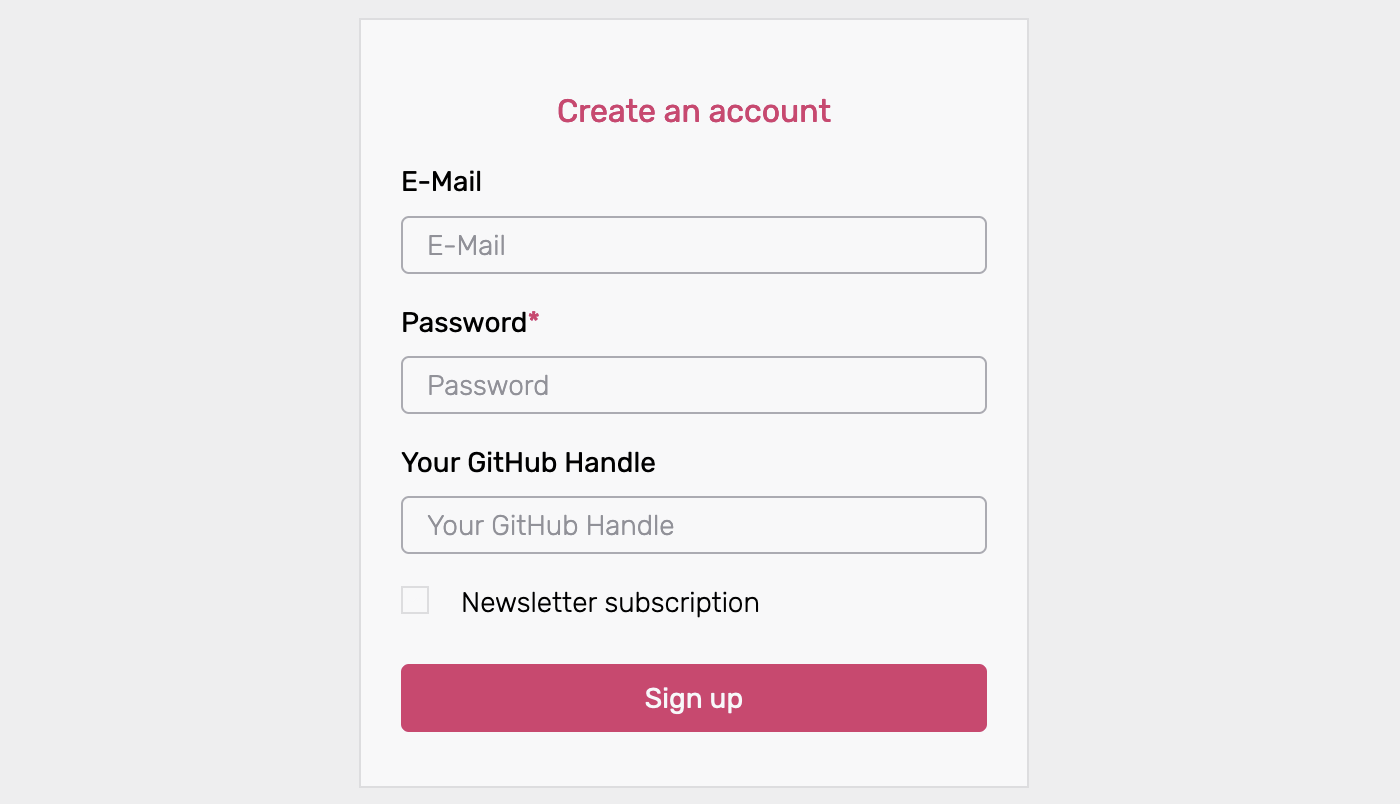
The title of each field is what the user as description or sample input. After
adding the above examples the sign-up screen would look like so:

Changing existing Identity Schemas
While it is currently not possible to directly edit existing Identity Schemas, you can make revisions.
For example, an Identity Schema named "Customer Type 1" exists and you would like to make changes to it:
- Select the "Customer Type 1" Identity Schema and press
Customize Identity Schema. - Make the necessary changes.
- Enter a new name, e.g. "Customer Type 2".
- Press the
Enterkey orUpdateto save it.
Additional Properties
The
additionalProperties
keyword is used to control the handling of properties whose names are not listed
in the properties keyword. This currently has no effect and should be set to
false.
"additionalProperties": false
Reference Identity Schema
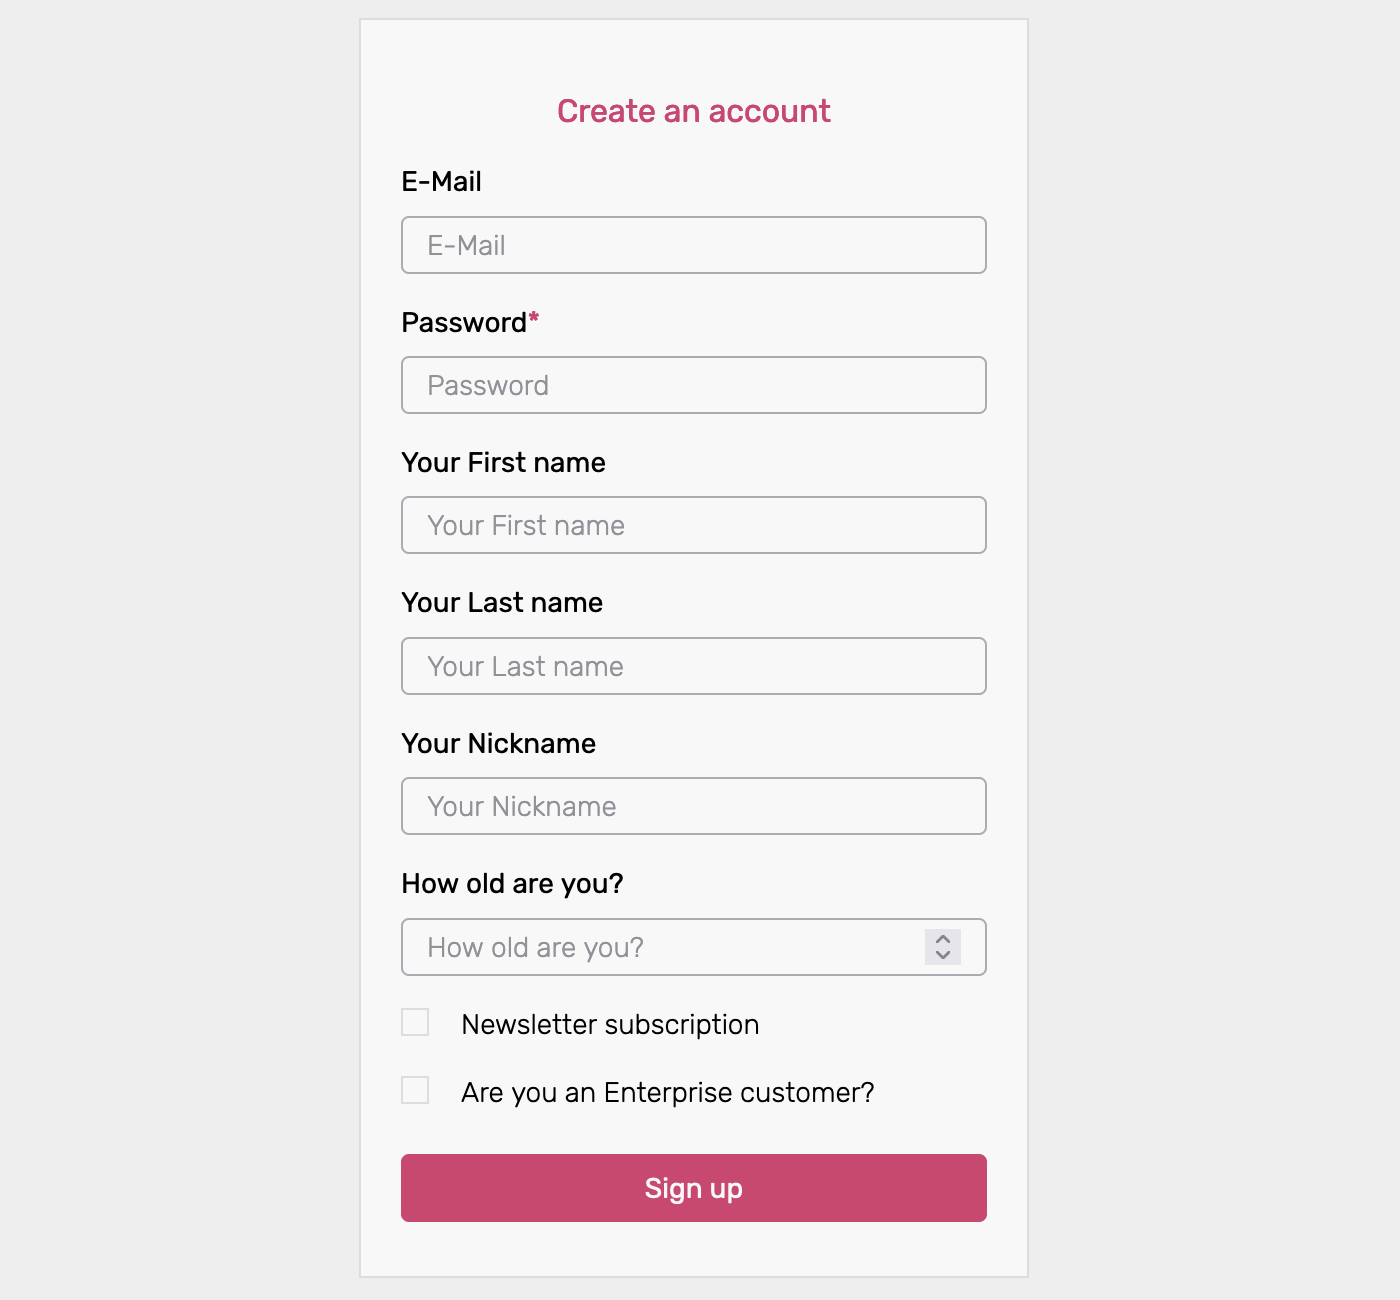
The following Identity Schema includes first/last and nickname, as well as number fields for the users' age. There are also two true/false fields for specifying the newsletter subscription and enterprise status.
Please note that this is just a reference Identity Schema, for practical uses it contains probably too many traits.
{
  "$id": "https://schemas.ory.sh/presets/kratos/identity.basic.schema.json",
  "title": "Person",
  "type": "object",
  "properties": {
    "traits": {
      "type": "object",
      "properties": {
        "email": {
          "type": "string",
          "format": "email",
          "title": "E-Mail",
          "ory.sh/kratos": {
            "credentials": {
              "password": {
                "identifier": true
              }
            },
            "recovery": {
              "via": "email"
            },
            "verification": {
              "via": "email"
            }
          }
        },
        "name": {
          "type": "object",
          "properties": {
            "first": {
              "type": "string",
              "title": "Your First name"
            },
            "last": {
              "type": "string",
              "title": "Your Last name"
            },
            "nickname": {
              "type": "string",
              "title": "Your Nickname"
            }
          }
        },
        "age": {
          "type": "integer",
          "title": "How old are you?"
        },
        "newsletter": {
          "type": "boolean",
          "title": "Newsletter subscription"
        },
        "enterprise": {
          "type": "boolean",
          "title": "Are you an Enterprise customer?"
        }
      },
      "required": ["email"],
      "additionalProperties": false
    }
  }
}
This is what the above Identity Schema would look like on the sign-up screen:

Best Practices
- Keep your data lean!
Theoretically, any amount and type of data can be included in your Identity model. We recommend that you do not include more fields than necessary in your Identity Schema. Ideally, the Identity Schema should only include traits that are necessary or relevant to the users' profile. If the data is related to something else - e.g. business logic - it makes sense to store it somewhere else. It can still be captured in the signup form, it just will need to be saved e.g. in your backend database.